Time and Materials Invoice with Tax Calculation in Excel (Colorful)
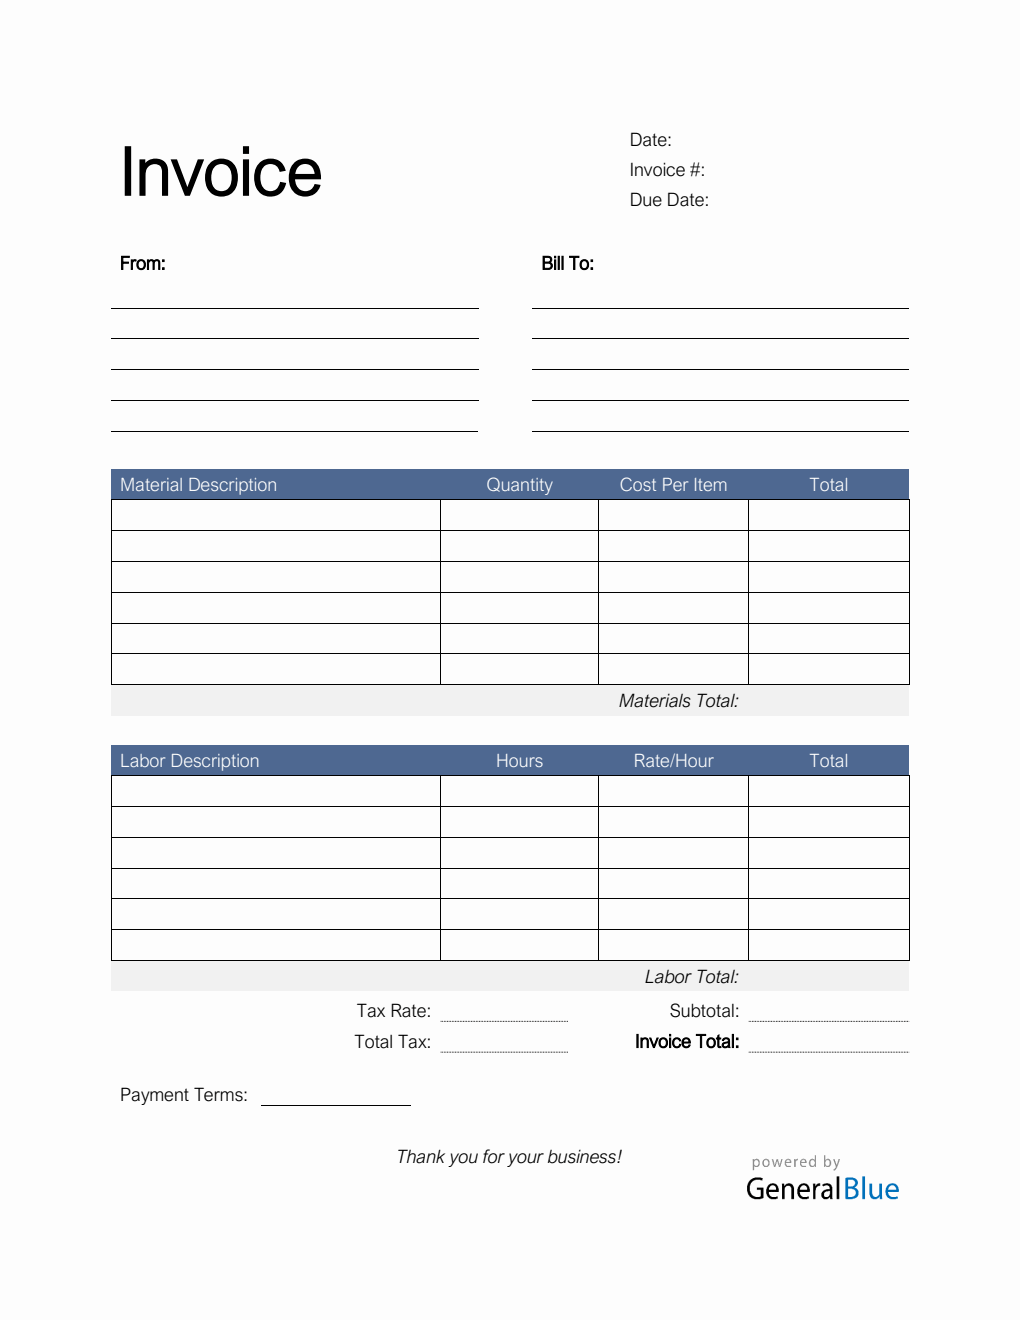
The Excel Time and Materials Invoice with Tax Calculation in Colorful design tracks all the material and labor costs utilized while completing a project.
This time and materials invoice is perfect for those looking for a simple T&M template to use. It tracks all the material and labor costs utilized while completing a project. It also features a section for tax rate, allowing the template to calculate the invoice total along with the total tax in dollar amount.
It’s designed with two tables covering the details of the materials and labor used to finish the project. By using this time and materials, you can easily identify the materials and labor type used along with their corresponding calculations.
This Colorful T&M invoice form includes sections for the date, invoice #, due date, and from and bill-to information. A separate table is provided to highlight the materials and labor details. It has sections for the material description, quantity, cost per item, materials total, labor description, hours, rate per hour, labor total, total, subtotal, invoice total, tax rate, and total tax. The lowermost part also displays a section for the agreed payment terms between you and your client.
Additionally, formulas are featured in this time and material billing; therefore, you don’t need to perform any manual calculations. Just enter the necessary details and the invoice template will automatically generate the calculations for you. It auto-calculates the materials total, labor total, subtotal, invoice total, and total tax in dollar amount provided that a tax rate percentage is specified. To use, instructions are provided below.
Edit, print, or download this T&M invoice in Excel format anytime. With minimal use of color, you can save ink/toner when printing it out.
Instructions:
- Fill out the date, invoice number, and due date. This is indicated at the top section of the invoice template. Here, you need to indicate the date when you will be sending the invoice as well as the invoice number for your client. The invoice number usually starts with 1 and increments over time. If you have a long-term contract with your client, it is an essential part of your invoice as it helps in tracking all invoices.
Additionally, you should also enter the due date of the invoice as this clearly defines the deadline of payments for your clients. It helps set out when payments should be made by the other party. It should be noted that your invoice date, due date, and payment terms correspond with one another. For instance, if your agreed payment terms is 15 days, then the due date should be exactly 15 days from your invoice date.
Enter your company information. Enter your company name and business address in this section. It includes the street address, city, state, zip code, and phone number.
Enter the bill-to information. Enter the name and billing address of the person or company whom the invoice should be sent to. The bill-to information includes the client’s name or company name, their address, city, state, zip code, and phone number.
Indicate the materials used to complete the project. Under the material description column, indicate all the materials used to complete the project. Each listed material should have its corresponding quantity and cost entered on the same row.
Input the material’s quantity and cost. After listing down all the materials used, enter its corresponding quantity and cost on the same row. Once these details are entered, the total, materials total, subtotal, and invoice total should auto-calculate.
Indicate the types of labor used to complete the project. Under the labor description column, indicate the types of labor used to complete the project. Each listed labor type should have its corresponding number of work hours and hourly rate entered on the same row.
Input the work hours and rate per hour for each labor type. After listing down all the labor types, enter its corresponding hours and hourly rate on the same row. Once these details are entered, the total, labor total, subtotal, and invoice total should auto-calculate.
Enter the tax rate. Enter the tax rate on the section provided. Once tax rate is entered, actual dollar amount of tax should be auto calculated. The amount generated will be automatically added in the invoice total, on top of the subtotal.
Enter the payment terms. Enter the agreed payment terms between you and your client. Most common payment terms are Net 30 or Net 15. Net 30 means your client has 30 days to complete the payment, and 15 days for Net 15.


